You will learn how to transfer, receive, and store Litecoin LTC tokens correctly from this tutorial. There are other crypto wallets that handle Litecoin, but for the sake of this post, we will pick Exodus Wallet since it is simple to set up, trusted by many users, has a nice user interface, and supports many other cryptocurrencies.
Creating Your Litecoin Wallet and LTC Wallet Address
Step 1: Get and install the Exodus wallet on your device.(This guide’s desktop version will be shown.)

Step 2: After installation, launch Exodus Wallet. Exodus will automatically create and distribute addresses for the coins it supports.

Step 3: A list of coins that are available for usage in Exodus Wallet will appear. Locate Litecoin by scrolling.

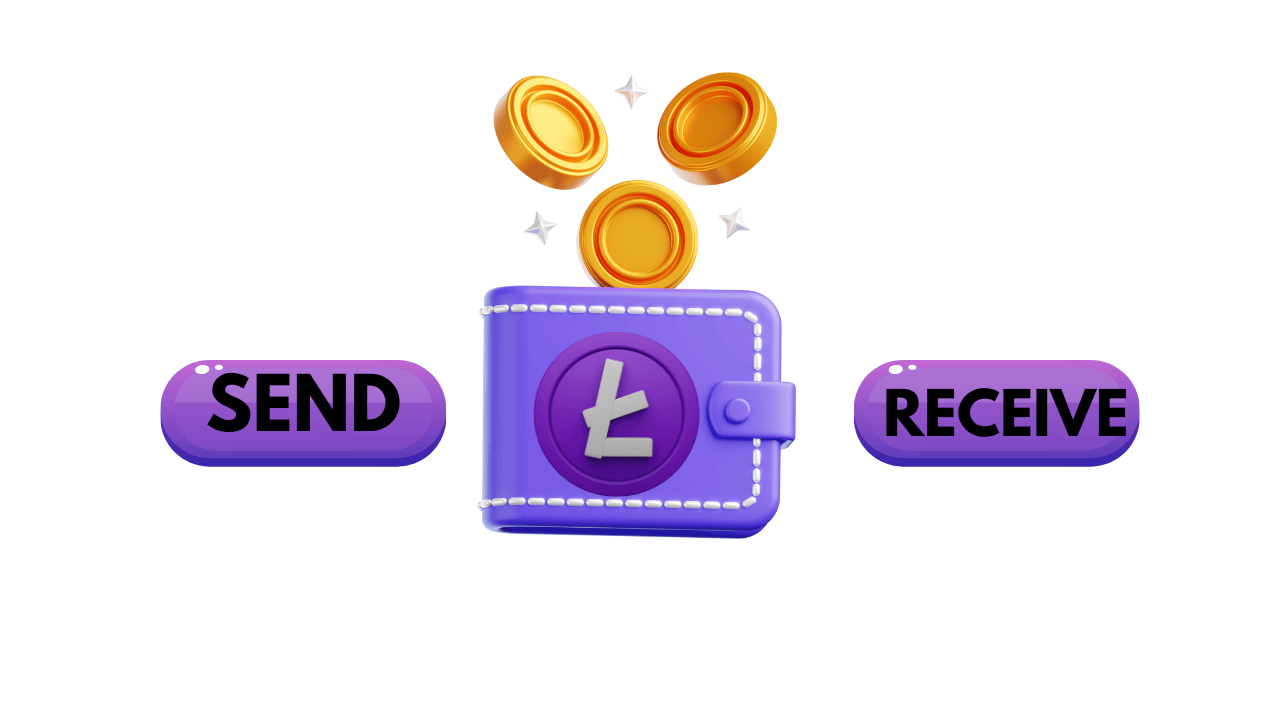
See the buttons labeled “Send” and “Receive”? Next, we’ll talk about sending and receiving Litecoin LTC tokens.

How to Get LTC Tokens for Litecoin
You will see the screen below after selecting the “Receive” button on the Litecoin information page.
It will display your Litecoin public address. You can safely forward this address to those who are sending you Litecoin LTC tokens. Simply copy it, then send it to the one who is giving you Litecoin LTC tokens. The sender may also quickly enter your address by scanning the QR code if their app allows it!
It should take around 150 seconds for the LTC to show up in your account after the sender sends it.

How to Transfer Litecoin LTC Tokens
Once the “Send” button has been clicked on the Litecoin information page above, take the actions listed below:
Step 1: In the “Send to LTC address” area, type the recipient’s Litecoin address. Enter the memo in the following field if necessary.
Step 2: Type in the amount of LTC you wish to send to that address. You can enter USD amounts in Exodus as well, and it will immediately convert them to LTC. The amount you send, which is displayed above the “Send” button, will be subject to a small transaction/network fee of about 0.0002 LTC (or 0.016 USD) every transaction.
Step 3: Click “Send” and you’re done!

Making a backup of your Exodus wallet is advised.
Step 1 : Select “Backup.” Choose a password and enter it. You must enter this password each time you open Exodus Wallet in order to unlock it. Click “Next” and then type the password once more.

Step 2: A special 12-word phrase will appear in Exodus Wallet. Never give this phrase to anyone, and write it down somewhere safe. Once you click “Next,” Exodus will prompt you to choose a word from your phrase of twelve words. Select the appropriate option to complete the backup procedure.
(Note: This 12-word phrase is crucial since you’ll need it to restore your Exodus Wallet on a different device using your accounts and addresses.)
